BuckWholesale's Guide to Custom Hats Overseas
Posted by Ezequiel Martinez on 19th Jul 2019
Hats seem like a very simple product on the surface but they really aren't. It takes several steps and it is necessary that you choose carefully when you are attempting to make one. From carefully sewing to finding the right keyhole, each step is essential to successfully creating a hat.
The first thing you must think about during production is what kind of design you are choosing.
For the fabric you must choose if you want it constructed, washed and/or with embroidery. Below are two examples:
This hat is unconstructed and washed.
This hat is non-washed and constructed.
Later on comes the decision of the keyhole and/or if you want it adjusted. For this step you must chose a specific keyhole closure. The options are the following:
Plastic Snap
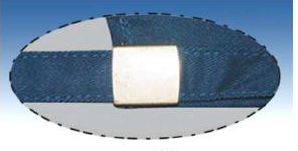
Metal Bucket
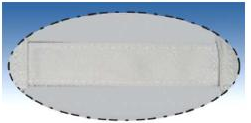
Velcro/tab
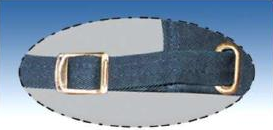
Metal Bucket+ Sewn Gommet
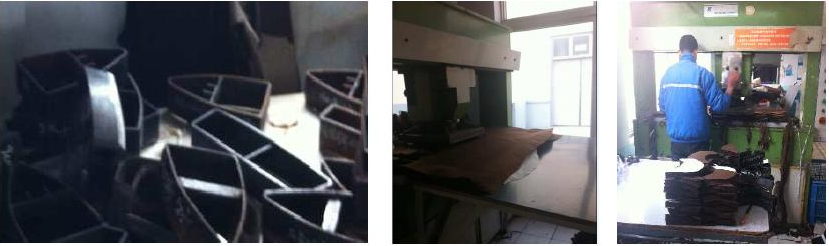
After picking the right keyhole you must worry about mold making and cutting. Usually mold making is for baseball hats since they are constructed as opposed to other hats such as dad hats. Mold is made based on size requirement and shape of different parts. Then the cutting machine is used in order to cut different parts of the hat based on the mold shape
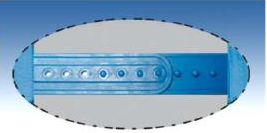
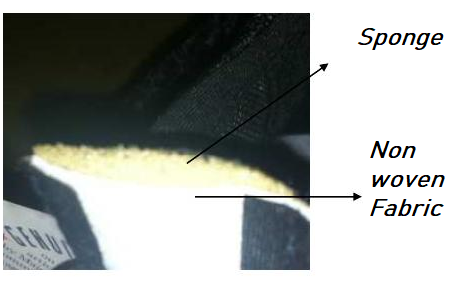
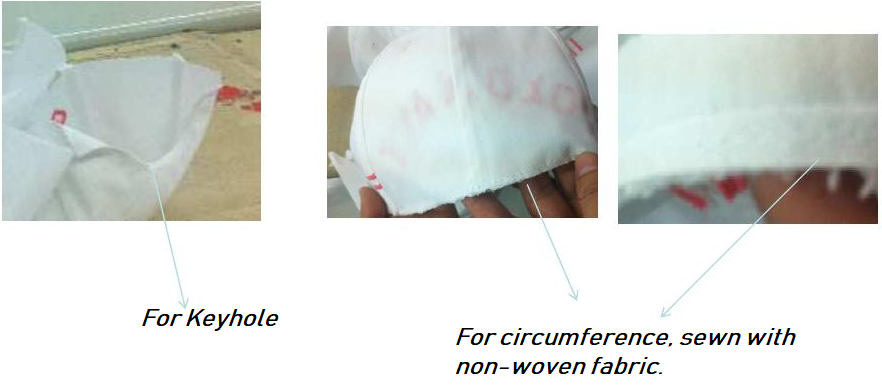
Now you must make sweatband sewing. The sweatband has the fabric, the Sponge and non-woven fabric.
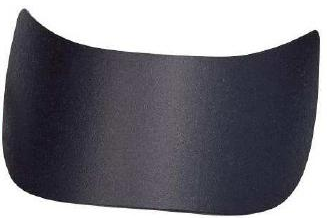
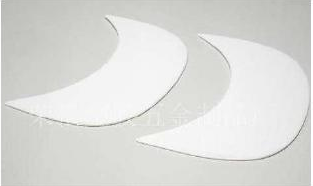
As you might know, some hats have different types of visors. For example snapback hats have flat visors as opposed to dad hats which have a curved visor which gives it a different style. The material to make the visor is called Polyethylene. Generally the visor is made in a visor factory and then sent to the hat producer.
Curved visor
Flat visor
Then the visor is sewed in order to cover it with fabric.
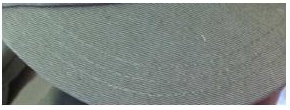
The stitching lines must be even and parallel.
In the previous image you can observe that the four lines of stitching are sewed at the front.
All the following sewing must be done in the crown:
Eyelet Sewing
Pieces Sewing
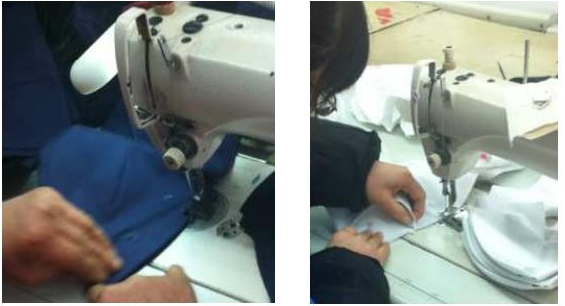
Inside Tape Sewing
Crown Edge Binding
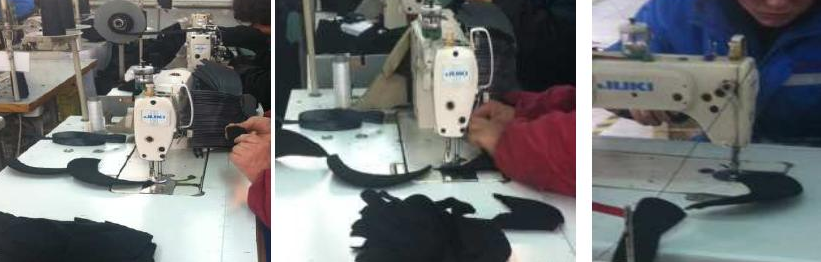
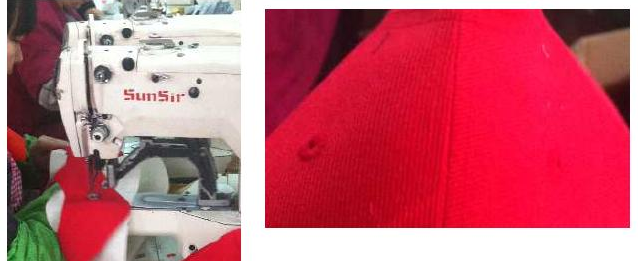
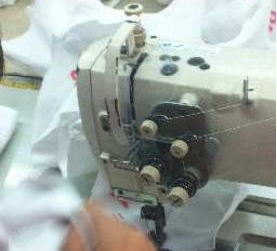
Then you must combine the sweatband, crown and visor using a special flat sewing machine as seen in the picture.
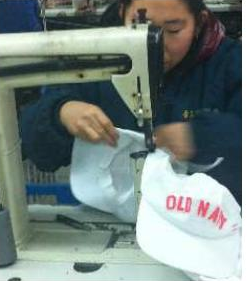 The sewing machine is power adding.
After doing the combination, all three labels, the main label the tracking label and the care label are sewn together and then the top button is attached.
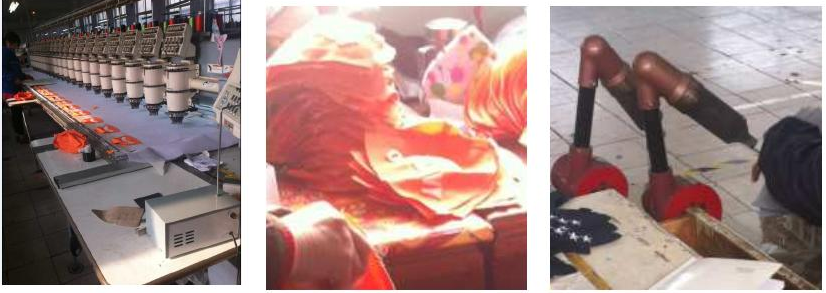
Then it is time for embroidery but, what is embroidery?
When it is about customizing headwear embroidery is one of the most common options. While embroidering a head garment, thread and needle are used to create the logo design. It creates a 3D look on the material and is often thought to be quite professional and classy. It’s best to avoid small, detailed designs, as those are difficult to embroider. For flat embroidery, the minimum thickness for shapes is 0.05″ and the max is 0.5″. For 3D puff, the minimum thickness is 0.2″ and the maximum is 0.5″. There should also be a space of at least 0.5″ between multiple 3D objects
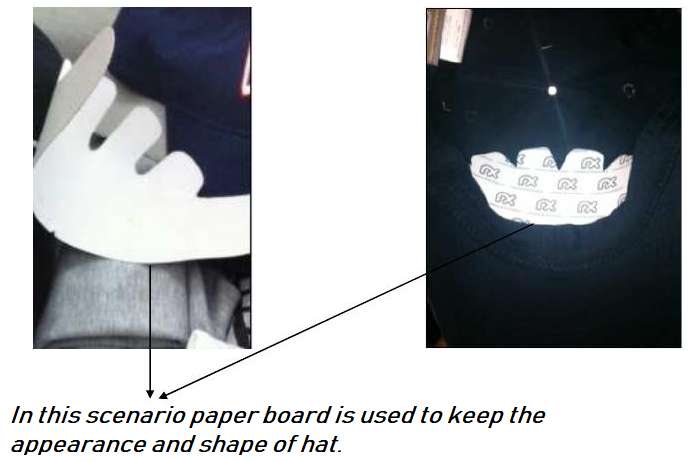
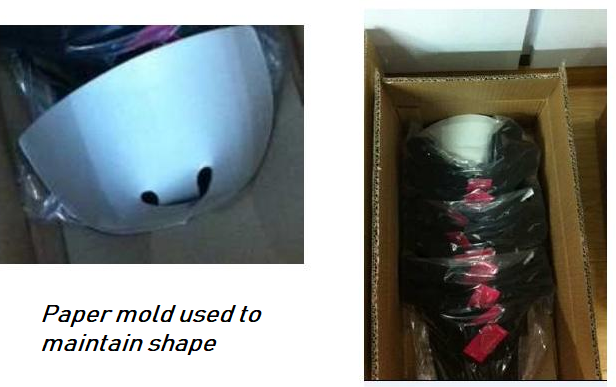
You are almost there. It is time for the pressing and the packaging.
Remember you must choose a suitable head mold for pressing.
After you are done pressing you have to do the packaging.
Do not forget to do an inspection to make sure you have the correct measurements with different tools.
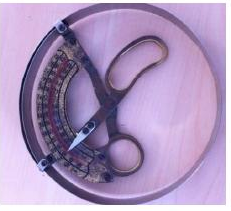
You can use a gauge to measure the circumference of the hat.
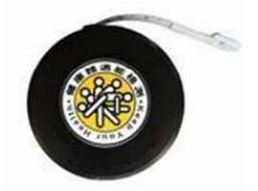
Then you also need the help of a tape measure.
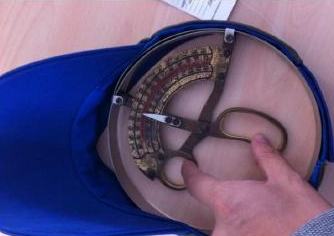
And use it just like the picture above to correctly measure it.
In order to make sure it fits the head you are looking to fit you must do an inspection. For this inspection you must make sure sure that the following points are measured:
The circumference of the hat, the crown height at CF and the visor length.
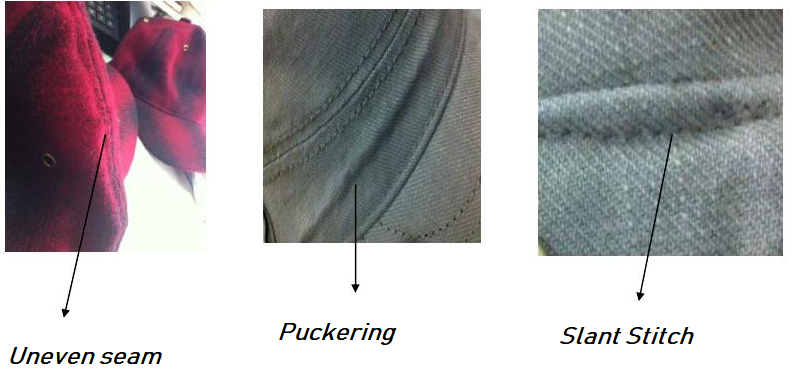
After you are done measuring this use a head model to check if it does fit. Also you must make sure that the color is consistent in the sweatband and sewing thread. The seam must be evenly pressed and the trims must be attached firmly. Avoid puckering of the seam.
Remember: if you are making a children's hat avoid sharp edges/points.
Finally, I will show you a series of common defects that you should look out for.